zondag 16 maart 2014

Smoke photography tutorial

Smoke photography tutorial


Today im going to show you how to get awesome smoke shots, and I'm going to teach you how to edit them with photoshop.

This is one of my results
I really like the color contrast, the things you need:
A camera setup:
I am using a Canon 600D DSLR camera, the most important is that you can manually setup your settings(shutterspeed/ aperture/ ISO). I'm using the 50mm 1:1.8 EF II, I use this one because it doesn't need a lot of light. 
A camera remote is not necessary, but I just want to get the most clean shot. If you are going to use an external light  ( like a LED light/ mobile phone/ cheap camera flash) it's very easy if you have a remote.

 For smoke I use incense, this gives a good smoke and is pretty safe, and it smells good.
For a background i am using a black cloth. 
Step 1. Think about your safety , don't burn your house down.
Step 2. Setup your camera:
First set your ISO to 100 , I used in some photo's +- 400 , you already see a lot of noise wich you want to reduce as much as you can,I think it's the best to get your shutter speed as fast as possible without dissolving your smoke to much.

Light: I used my telephone light, i rather use a external camera flash , but I'm a beginner with a low budget, if you're going to use a external flash (recomended)  , make sure your flash is going at exactly the same time as your shutter.
Also make sure your flash don't reflect on the black background, try to shoot it at the smoke and cover it on the background side.

Format: RAW , I use RAW so you can affect the picture more before you're going to edit it.

Step 3: Light your subject up, you also can use a candle, but it give less smoke and you have to light it up every time. Watch out you don't burn your house down.

Step 4:Shoot some pictures , till you think it's good.

f1.8/ISO 400/ 1/160

f2.5/ ISO 800/ 1/100

Step 5:When you think you have enough, you are going to import it to your computer, make a selection and open them in Adobe Photoshop. 
If you use CS6 it will automaticly open in a raw viewer, here you can edit it a little bit, try to reduce noise and get a clear sharp image. You also can give it a little bit effect over here like this one.

Okay, let's edit the smoke and the background.
Step 6: Open the image, make sure the smoke is white, use Ctrl+i 
import

Ctrl+i


Make a new layer and start to color it with a soft-edged brush and set the blend mode of this layer from normal to overlay. Turn it however you want and give it some adjustments with your brush/ eraser.

You also can use gradients ( dubble click on the brushed layer and go to  'gradient overlay' choose what you want but set the blend mode to 'overlay'

Now you are finished, try it out and try to be creative with photoshop.


Next time I'll try to get a better light source, so i can put my ISO down to 100 and set an faster shutterspeed and an smaller aperture to get the best resolution.

I hope you learned something on my blog, any tips/ tricks/questions/problems/results? Comment it down here :).

Have a nice day


dinsdag 11 maart 2014

Nature


Dear readers, this time I was to a small nature park in Holland, this wasn't my favorite place ,because almost everything was the same. 
My target for today was making a picture of people without them knowing i was making a picture.
Ofcourse i made some other pictures of the nature around me.

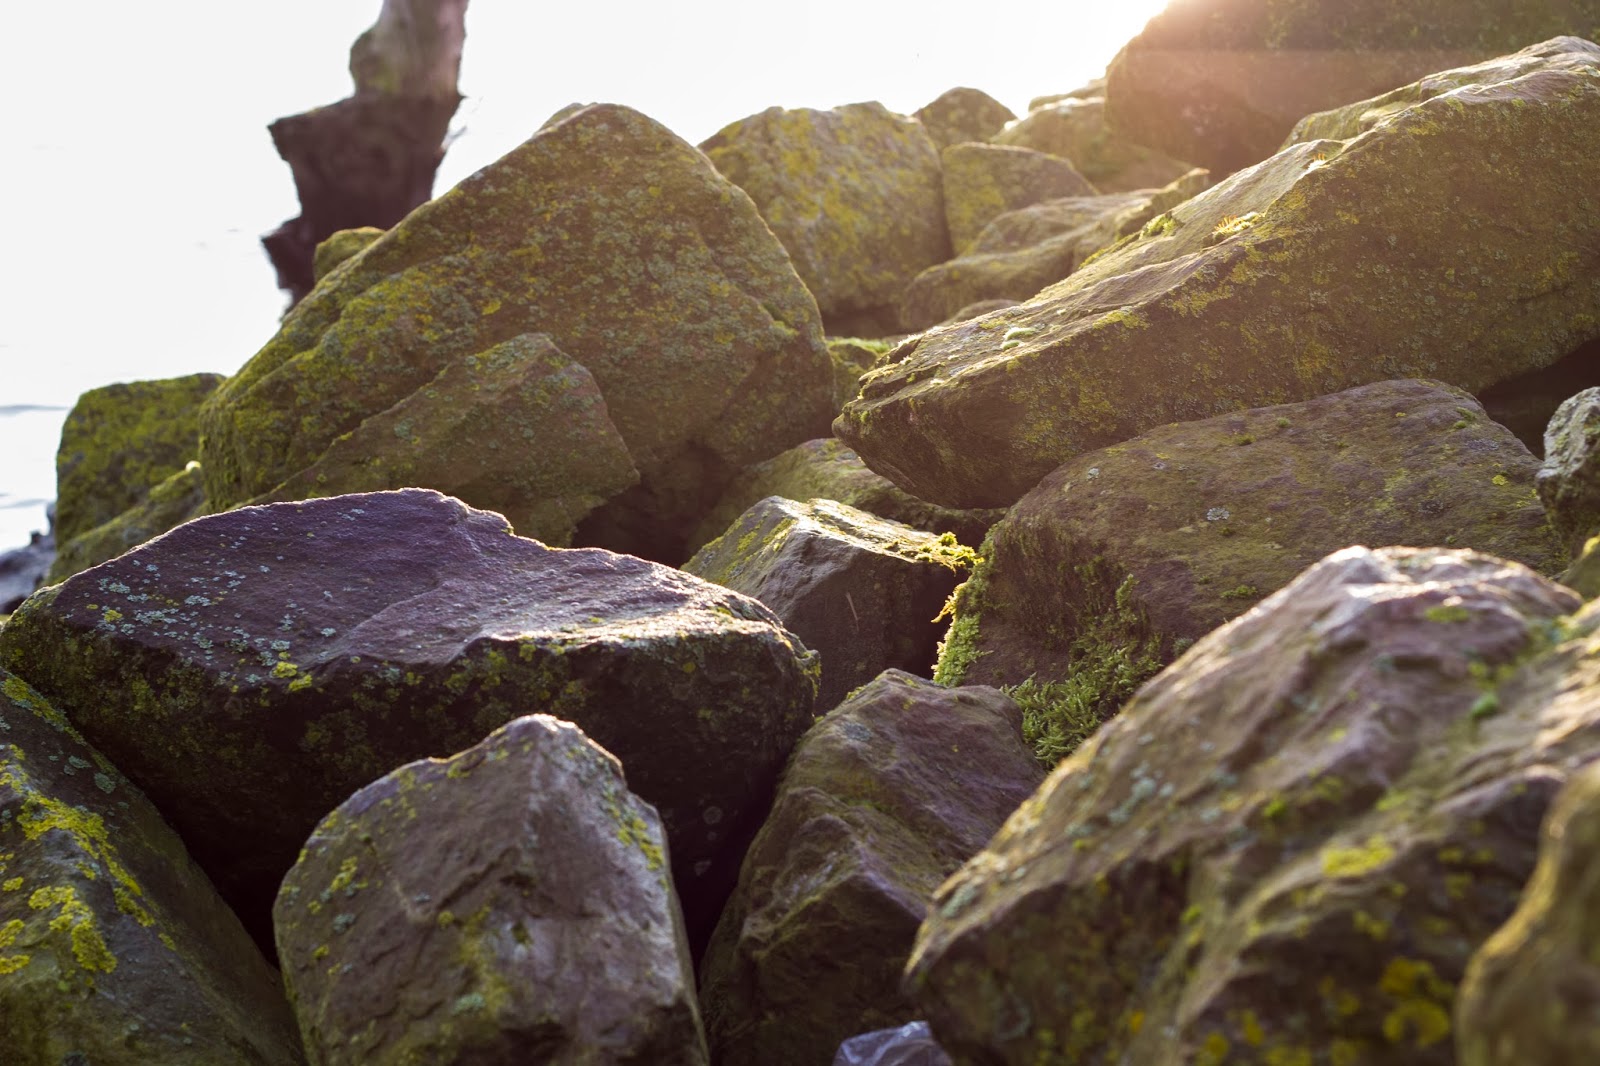
Love this contrast.
f/9 __ ISO 400__1/320
f/6.3__ISO 200__1/400
I would make a picture of some people walking around, i didn't want to get a bad image about people, Iwant to see something possitive about humanity ( like love)
                                                                                                                                                                           f/9 __ ISO 400__1/320
When I was making some pictures with a friend of mine we saw this bridge , it almost looks like there are 2 suns wich ofcourse is impossible, when you get closer you'll see its just 1 side of the bridge.


wake up !

Okay, for this photo- session i stood up at 5:30 AM to catch a beautifull shot of a rising sun , the sky is turning up into awesome colors .


Mini Harbor


At the end of the morning I had enough pictures, time to head home and catch some sleep.
I really missed a good ND-filter(for long exposure shots), maybe its a good idea to work with it next time.
I heard it's even possible with welder's glass. 

Any tips / trick ?


vrijdag 21 februari 2014

Tips & tricks

Keep in mind, if you have any tips tricks or feedback. put it down in the comment or contact me :)
You can also follow me on InstaGram : Rysoart


Beach , sunset, beauty

Me and my friend were going to the beach.
Canon 600D & Nikon D5100
On our way to the beach , I made this picture from the car, pretty nice that contrast.

First flowers already (Netherlands)( 16-02-2014) 


Some colorfull fishing nets at the beach


@Beach (winter)

I think this my best photo i ever made, i really like the composition, the background, the colors and the moment.
No adjustments added.

Close- up (sunset) Winter

First time playing with the shutter speed at night.

Just made some collage of my top 18 Photo's.

FIrst day out on my own with my camera

This was my first day officialy using my DSLR,  i learned that light can change your whole composition , 
2-2-2014

all shot with a Canon 600D+ 18-55 ef-s II


Portrait of a sheep, you see i struggle a little bit with the sharpness of the picture, this is new for me i always use manual focus, any tips? post it :) 


Went a day out with a friend and made some pics, didn't used a effect or filter , just pure the photo 

Danny Maasdam Photography

Well, hey my name is Danny Maasdam , I made this blog to show other people what I love to do, being creative with photo and video.

Canon 600D
Canon 18-55 mm ef-s II
Canon 50 mm f 1.8

Tips & Tricks are welcome :)

enjoy.